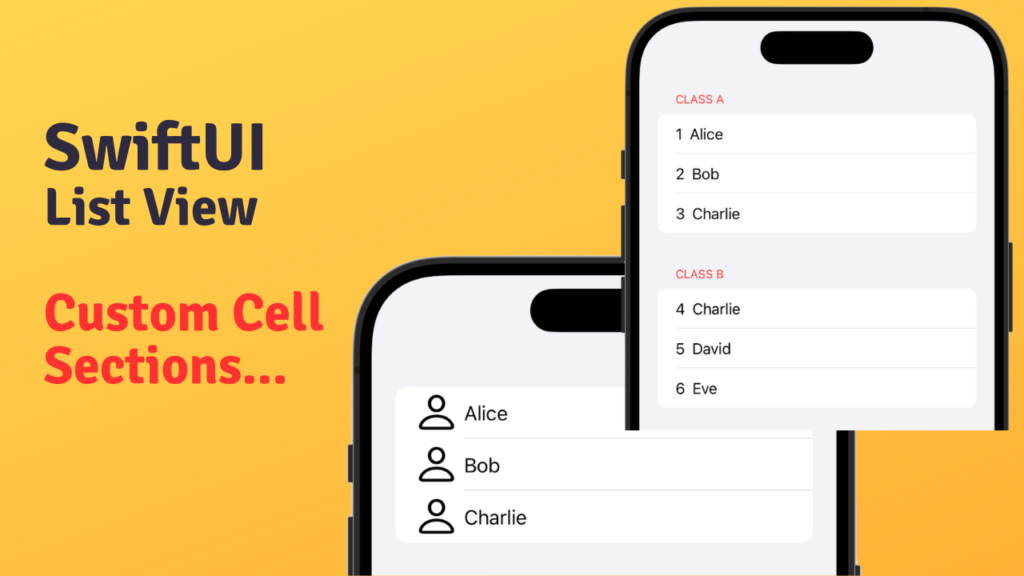
A List view in SwiftUI is a container which helps us to display static or dynamic data in a scrollable column. By default we get standard styling of List. Let us create a simple List with static data to illustrate it.
var body: some View {
        List {
            Text("First Item")
            Text("Second Item")
            Text("Third Item")
        }
    }
This simple List with static data will look like

Dynamic List View
We use very little static data list and mostly List is populated with dynamic data fetched either from api or from database. Suppose we want to create a list of students. First we will create a Student struct with properties ‘rollNo’ and ‘name’.
struct Student {
    var rollNo: Int
    var name: String
}
Now we can create an array of students to create a list
let students = [
        Student(rollNo: 1, name: "Alice"),
        Student(rollNo: 2, name: "Bob"),
        Student(rollNo: 3, name: "Charlie")
    ]

var body: some View {
     List(students) { student in
            HStack {
                Text("\(student.rollNo)")
                Text(student.name)
            }
        }
    }
After writing this piece of code you will get an error that Student should conform to Identifiable protocol.

In order to fix this error we can use rollNo as identifier after conforming to protocol Identifiable. Now the Student struct code will be
struct Student : Identifiable {
    var id: Int {rollNo}
    var rollNo: Int
    var name: String
}
The error will go away once we make the Student conforming to protocol Identifiable

Custom Cell in ListView
Creating a custom cell in SwiftUI is very simple. Which helps us to build complex and interactive user interfaces. Suppose we want to show image as well with student’s name. We have to add image property in our Student struct.
struct Student : Identifiable {
    var id: Int {rollNo}
    var rollNo: Int
    var name: String
    var image: String
}
For simplicity I will provide the system ‘person’ image to each student instance and will ignore the roll no in custom cell.
let students = [
        Student(rollNo: 1, name: "Alice", image: "person"),
        Student(rollNo: 2, name: "Bob", image: "person"),
        Student(rollNo: 3, name: "Charlie", image: "person")
    ]


    var body: some View {
        List(students) { student in
            HStack {
                Image(systemName: student.image)
                                .resizable()
                                .frame(width: 30, height: 30)

                Text(student.name)
            }
        }
    }
We can create more complex UI as per requirement. It is easy and straightforward compared to the custom cell of a tableview in UIKit.
Sections in ListView
ListView can be divided into multiple sections. Each section can have a header and a footer. Let me create two arrays of students to demonstrate the sections concept.
let students = [
        Student(rollNo: 1, name: "Alice"),
        Student(rollNo: 2, name: "Bob"),
        Student(rollNo: 3, name: "Charlie")
    ]

    let students2 = [
        Student(rollNo: 4, name: "Charlie"),
        Student(rollNo: 5, name: "David"),
        Student(rollNo: 6, name: "Eve"),
    ]
I will use two ‘Section’ views with headers ‘CLASS A’ and ‘CLASS B’ respectively. Inside the section view I am using ‘ForEach’ view to iterate over the students array for both sections.
var body: some View {
        List {
            Section {
                ForEach(students){student in
                    HStack {
                        Text("\(student.rollNo)")
                        Text(student.name)
                    }
                }
            } header: {
                Text("Class A")
                    .foregroundStyle(.red)
            }
            Section {
                ForEach(students2){student in
                    HStack {
                        Text("\(student.rollNo)")
                        Text(student.name)
                    }
                }
            } header: {
                Text("Class B")
                    .foregroundStyle(.red)
            }

        }
    }
